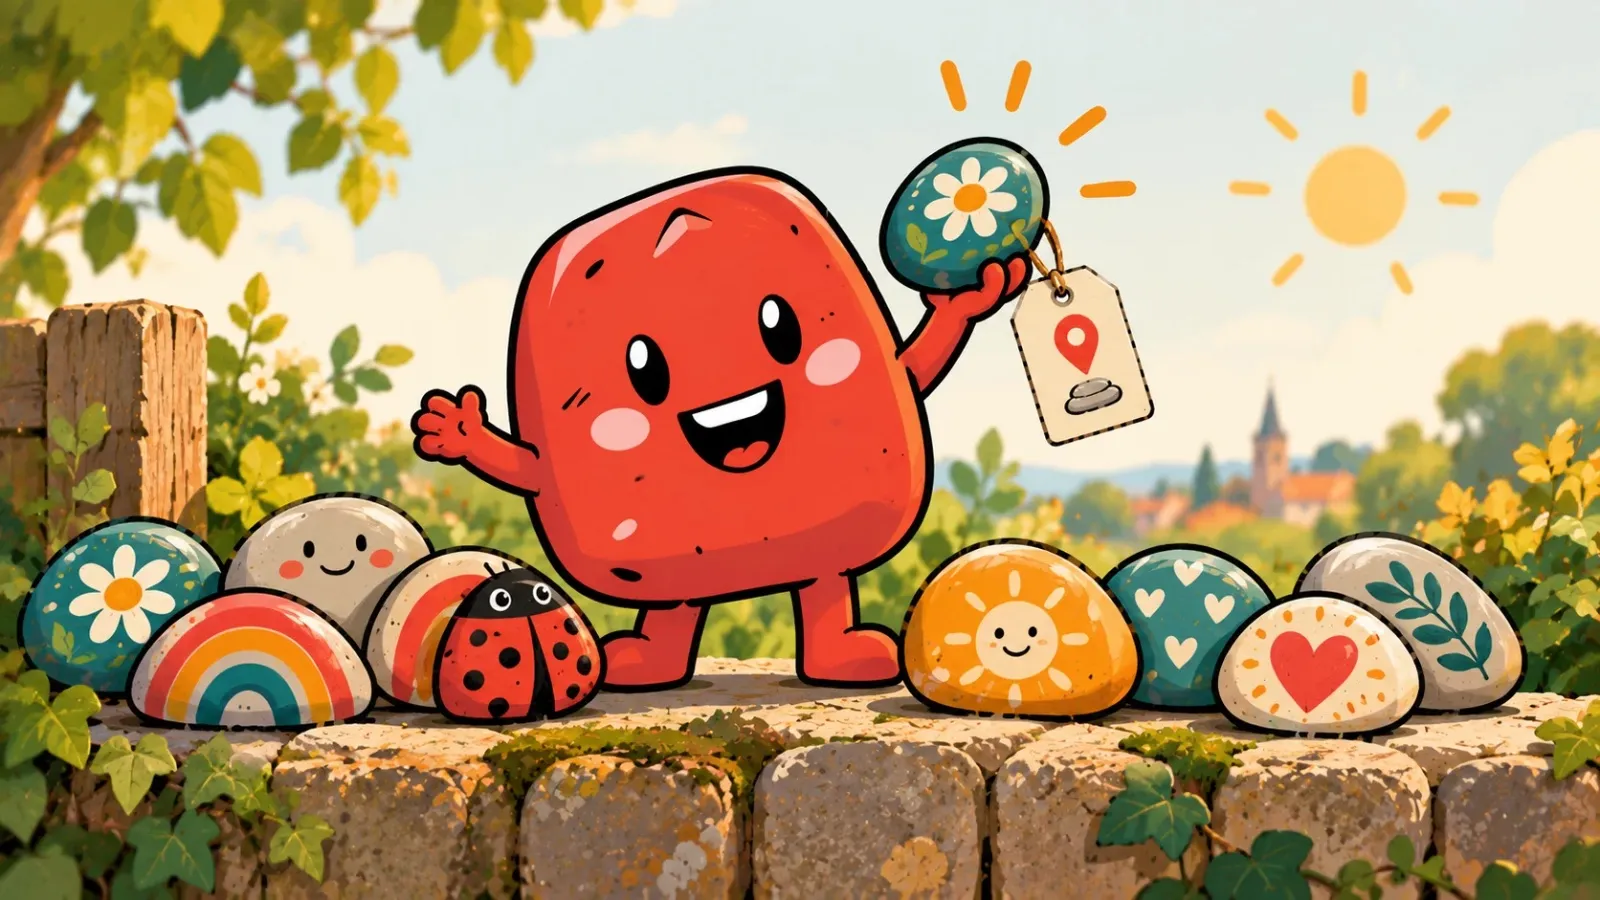

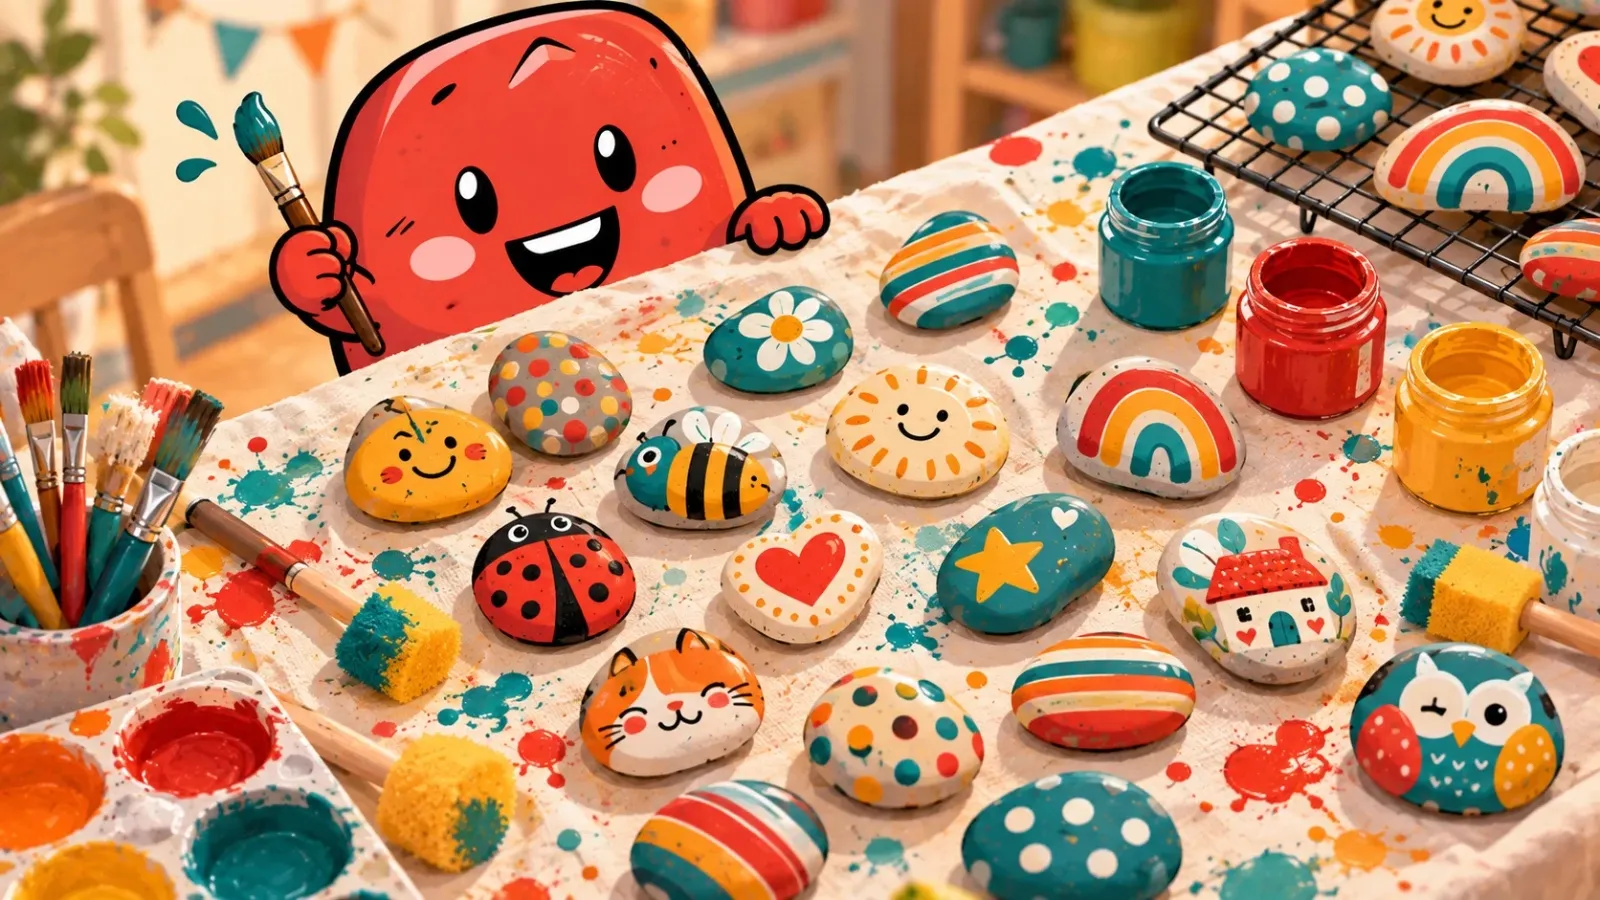
Painting stones with kids creates the loveliest chaos, and with a little preparation that chaos stays limited to the paint. Here is an afternoon that works, from table to drying rack, with tips for toddlers and for kids who already know exactly what they want.
Get everything ready first
You do not need much: smooth stones, acrylic paint in a few basic colours, brushes in two sizes, a few acrylic paint pens, a cup of water, kitchen roll and clear varnish for later. Squeeze the paint in small blobs onto an old plate or a lid, so nobody grabs the whole tube straight away. The fewer colours on the table at once, the less brown the end result.
Cover the table
An old tablecloth, a bin bag or a piece of cardboard under the stones prevents stained tables and cross looks. Aprons or old T-shirts as painting smocks work better than you would think. Acrylic paint washes out with water while it is wet; once dry, it is there for good. So keep a damp cloth handy.
Choose the right stones
Big, smooth stones are easiest for small hands. Let the kids pick them out themselves on a walk or in the garden, which is half the fun already. Wash them beforehand and let them dry properly, or the paint will slide off before it dries.
A white base coat saves time
A thin coat of white acrylic as a base makes colours brighter and covers the stone faster. Ideally apply it the evening before, so the next afternoon there are white stones ready and begging for colour. For toddlers and preschoolers a white stone like that is almost ready to decorate.
For the very youngest
Finger paint or thick brushes with short handles work best. Do not think in perfect pictures, but in dots, stripes and fingerprints: that is exactly what kids enjoy most. With two dots and a line from a grown-up, a fingerprint suddenly turns into a ladybird.
For slightly older kids
Cotton buds make neat dots for flowers or mandalas, and a pencil sketch beforehand draws the lines they colour in afterwards. Acrylic paint pens are ideal for words, such as a name or “have a nice day!”. Let them think in advance about who the stone is for: an unknown finder, grandad, or their teacher. Then the design gets a story all by itself.
Don’t forget the ID
Register the stone together in the app and let your child choose its name. Writing the ID on it and hiding it is just as exciting as the painting itself.
With a family in the app, everyone has their own stones and you can see each other’s journeys. You can make children’s names visible only within the family. The best moment often comes weeks later, when you announce at dinner that your daughter’s stone has turned up in Germany.
Keep it short and stop in time
An hour of painting is enough for most kids, often a quarter of an hour for toddlers. Stop while it is still fun, not when everyone is tired. Two or three stones per child is a good number: there is time to take care over them, and there are stones left to hide together later. The paints and stones go into a box that can be back on the table next weekend in no time.
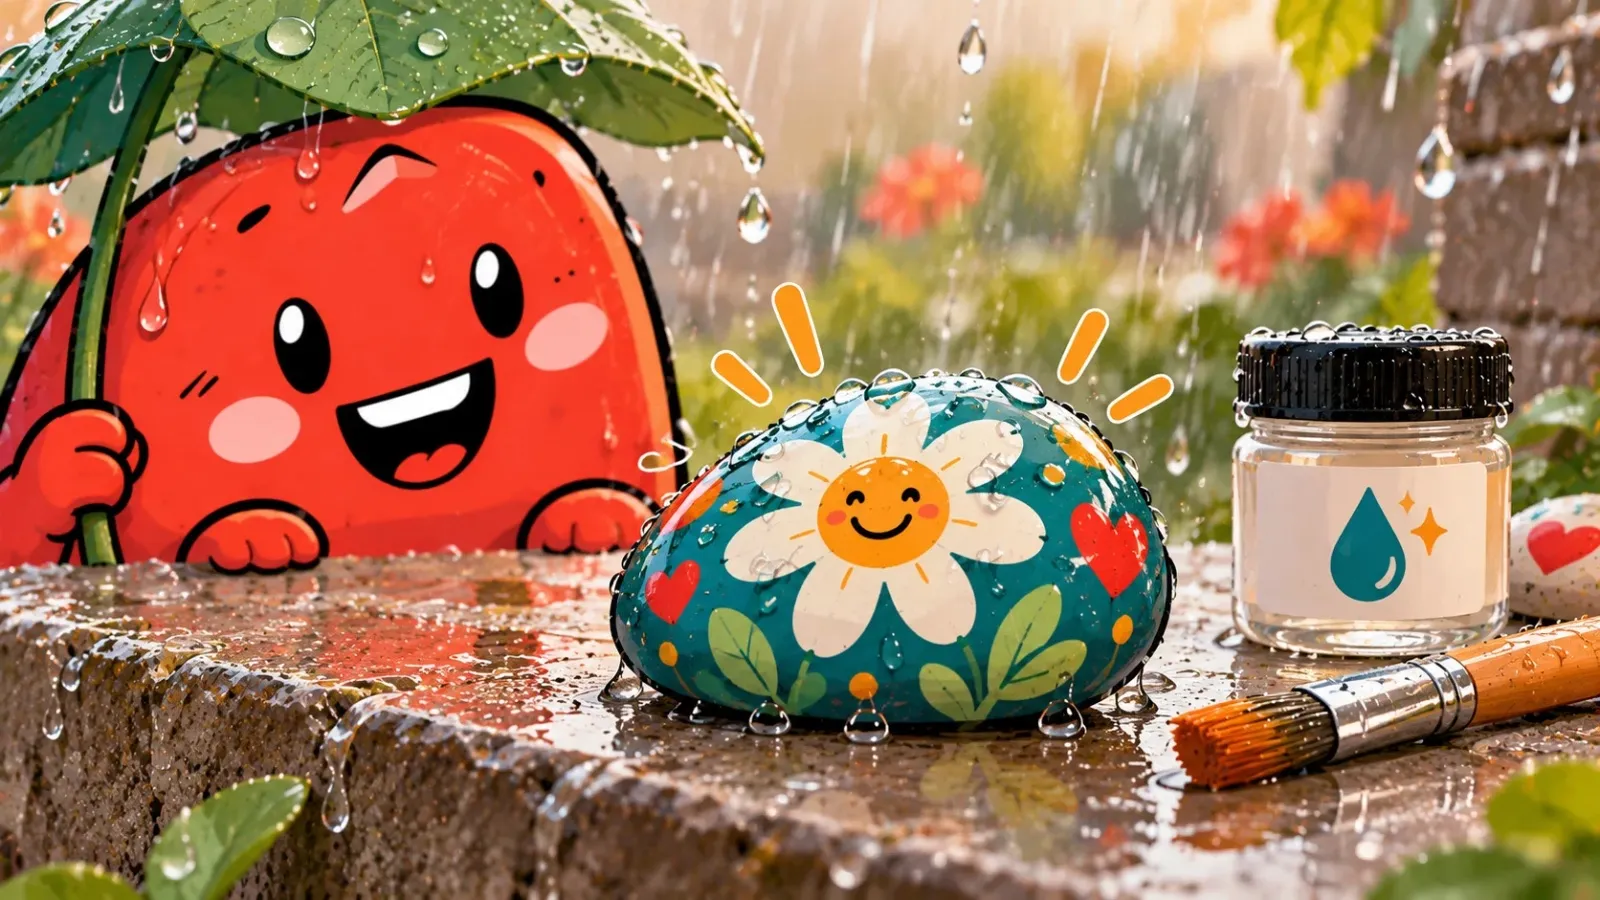
Drying and varnishing
Give the paint at least an hour and only varnish the stone once it feels completely dry. Varnishing is a job for a grown-up, especially with spray varnish: outside, with the kids at a distance. The next day the kids get to choose where their stone goes. A walk to put it down is the perfect end to the project.